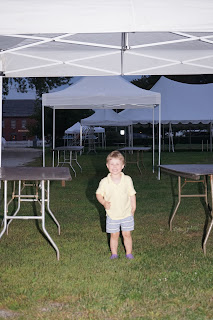
Here is the foot picture I was talking about!
Tuesday, September 19, 2017
Tuesday, September 5, 2017
Lighting Positions
Three- Pint Lighting
CONTACT SHEETS:
- The Key Light – This is the main light used on your subject
- The Fill Light – The purpose of this light is to fill in the shadows created by the key light, preventing them from getting too dark.
- The Back Light – This is used to separate the subject from the background.
Silhouette
- outline subject
- place light behind the subject
Split Light
- single light source placed 90 degrees offset from the subject and a bit higher than eye level,
- Lighting one half of the face, and leaving the other in shadow
Loop Lighting
- Loop lighting is made by creating a small shadow of the subjects noses on their cheeks.
- To create loop lighting, the light source must be slightly higher than eye level and about 30-45 degrees from the camera
Broad Lighting
- Broad lighting is when the subject’s face is slightly turned away from centre, and the side of the face which is toward the camera (is broader) is in the light.
- used for “high key” portraits
- makes a person’s face look broader or wider
Short Light
- short lighting puts the side turned towards the camera (that which appears larger) in more shadow.
- used for low key, or darker portraits
- the face is turned towards the light source this time
Rembrant Lighting
- identified by the triangle of light on the cheek
- more dramatic, so like split lighting it creates more mood and a darker feel to your image
Butterfly Light
- butterfly shaped shadow that is created under the nose by placing the main light source above and directly behind the camera.
- shooting underneath the light source
- glamour style shots and to create shadows under the cheeks and chin.
CONTACT SHEETS:
Monday, September 4, 2017
Subscribe to:
Comments (Atom)


